Sky & Weather · Free in the app
How to Draw a Cloud
An easy step-by-step drawing for kids and beginners: 7 steps, about 2 minutes, on paper.
- 7steps
- 2 minabout
- Colorat the end

Quick answer
Draw a cloud in 7 steps: draw the base, draw the left corner, draw the first bump, then carry on one line at a time and color it in. It takes about 2 minutes with a pencil or a pen.
- Steps: 7
- Time: about 2 minutes
- You need: paper, a pencil or a pen, something to color with
- From: the Sky & Weather path in Paper Coach
This cloud starts with one straight line on the bottom. Then you add a curled corner and four bumps along the top, and the biggest bump goes in the middle. Once you know this shape, you can draw a whole sky of clouds in different sizes.
Step by step
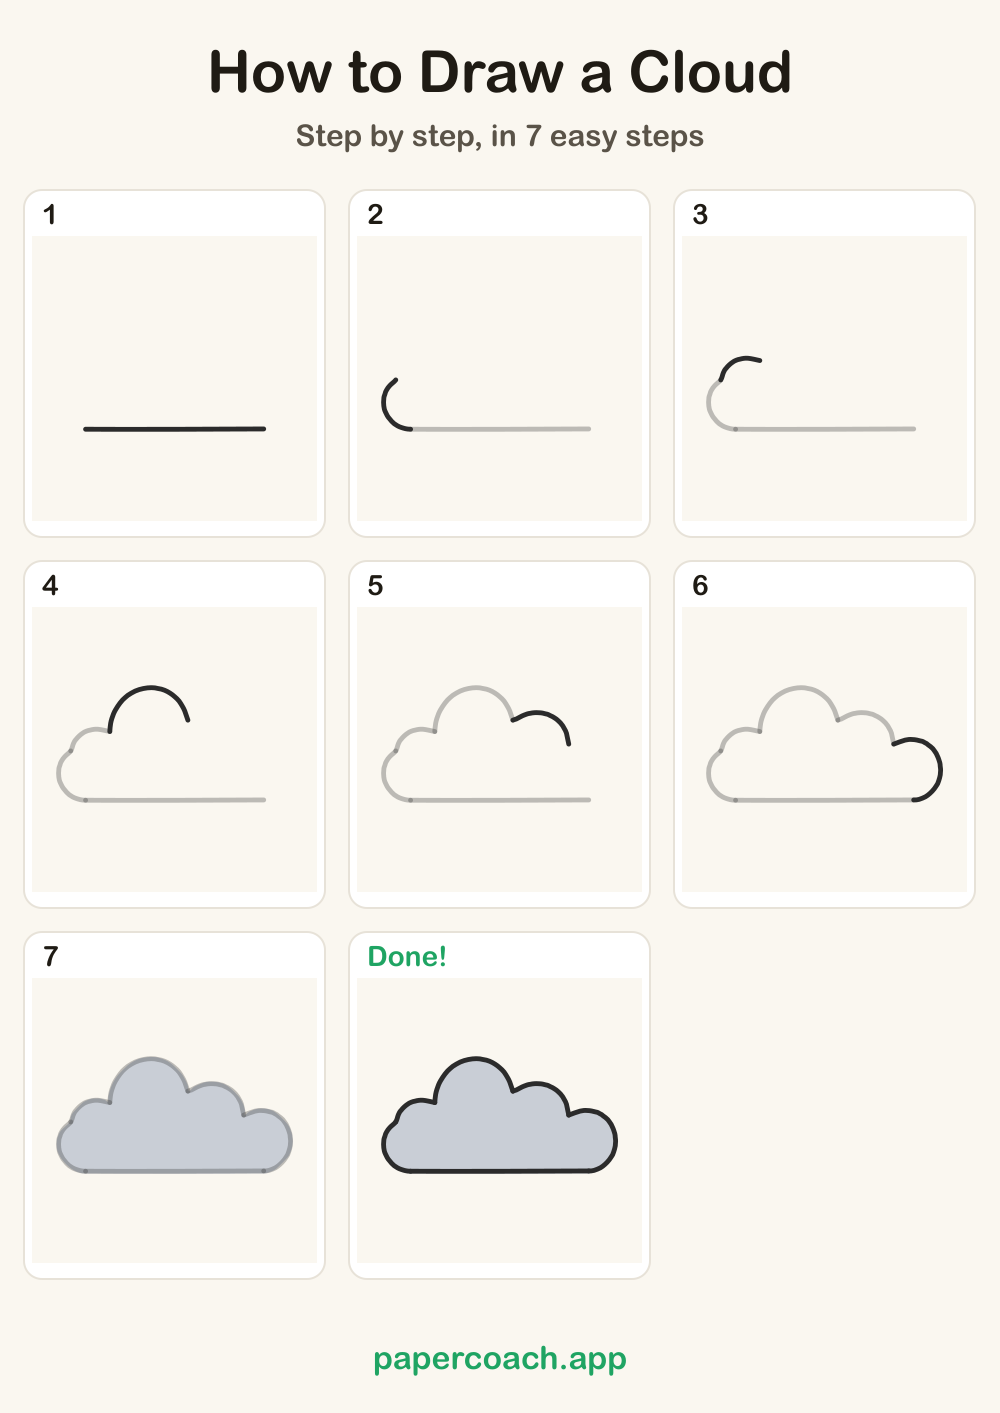
Draw it in 7 steps
Each picture shows the lines so far: the faded ones are done, the dark ones are this step’s.
1Draw the base

A cloud sits on a flat bottom. Draw one straight line from left to right.
2Draw the left corner
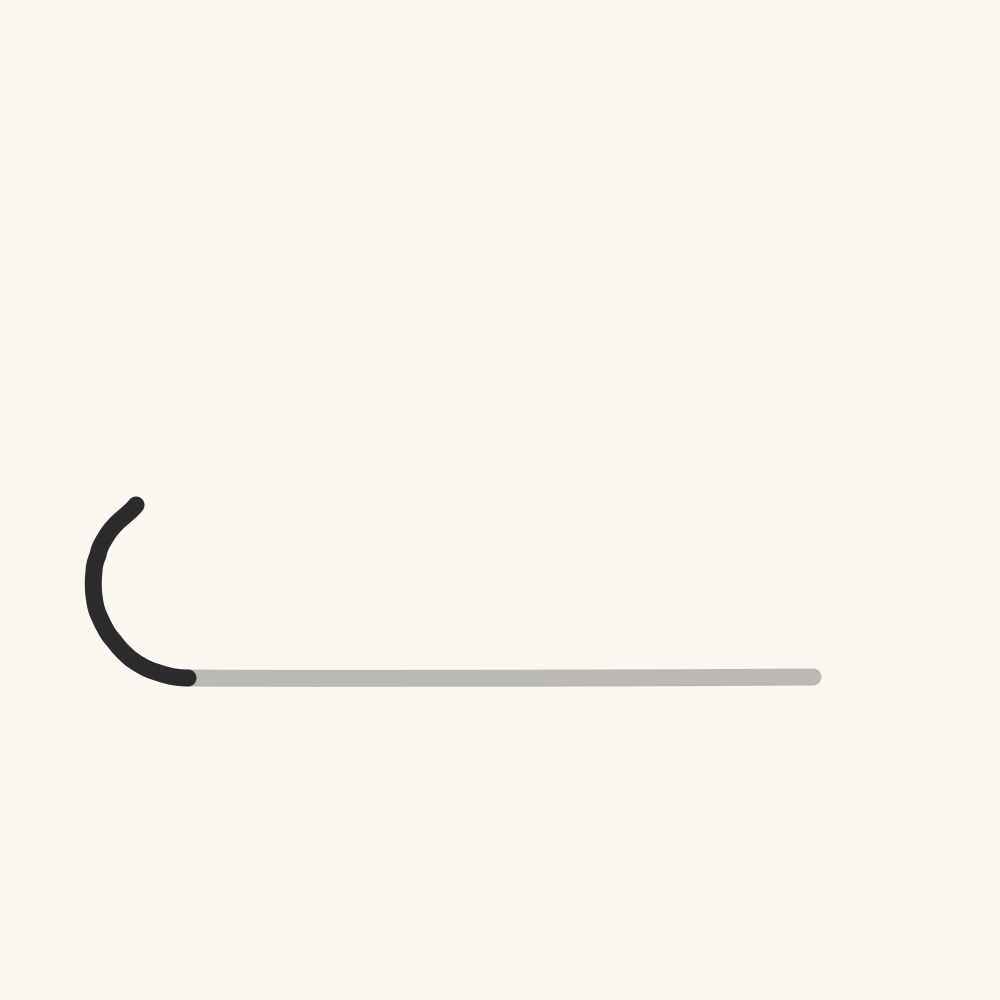
Round off the left end. From the line, curl out and up to a little dip.
3Draw the first bump
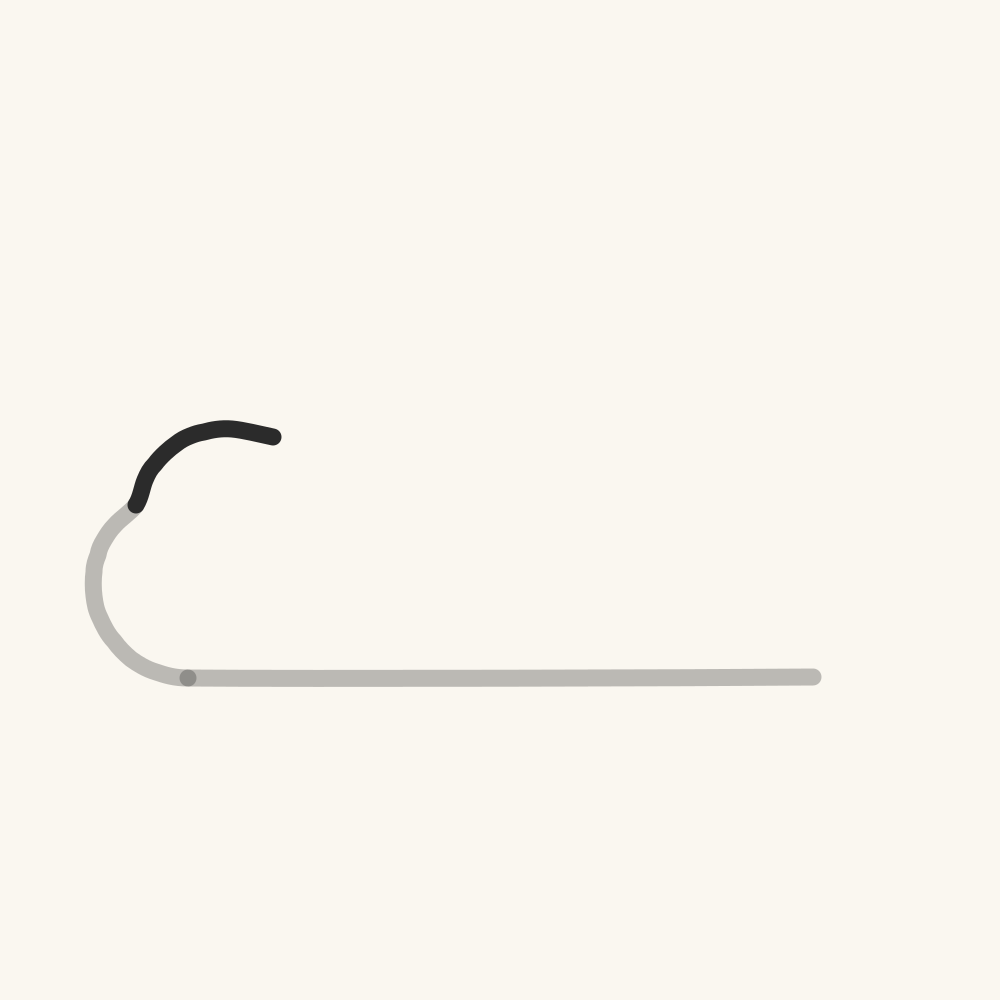
Now the bumps. The first is a small hill, up and over to the next dip.
4Draw the big bump
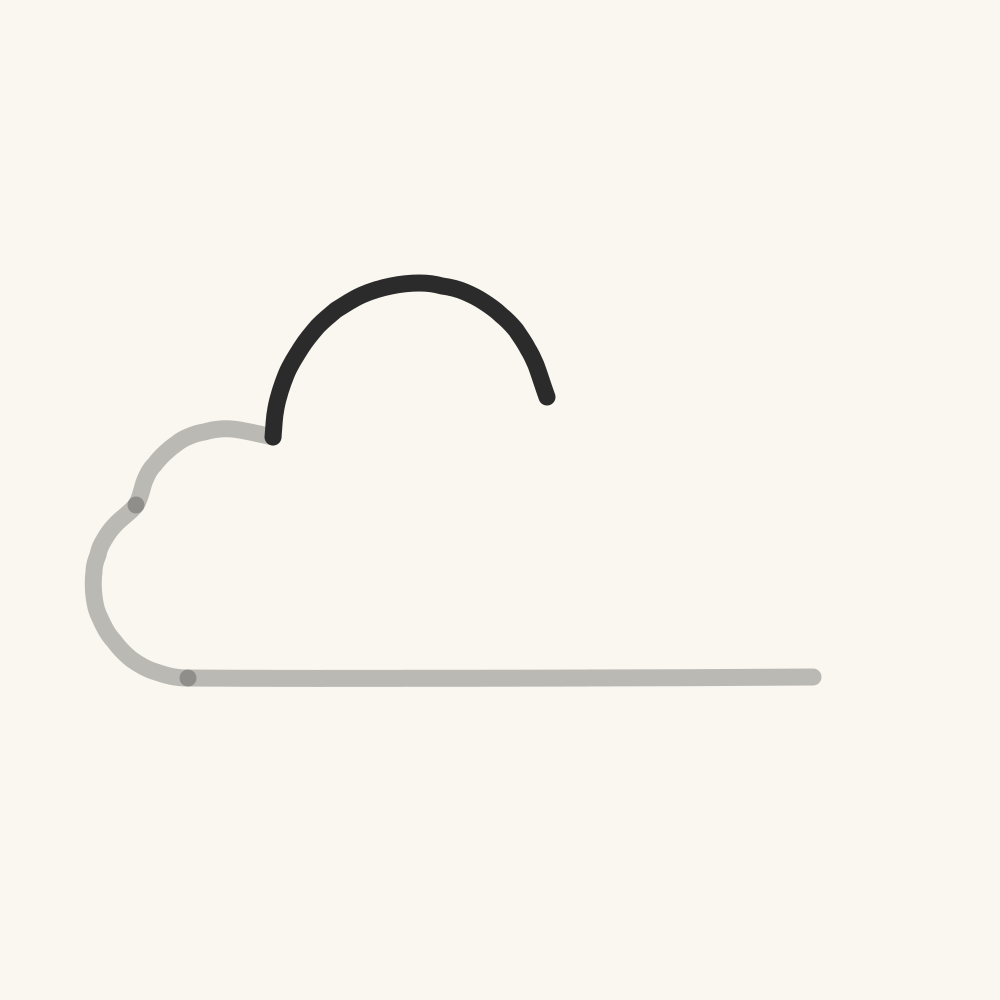
The second bump is the biggest. Go high, like a rainbow, and come down.
5Draw the next bump
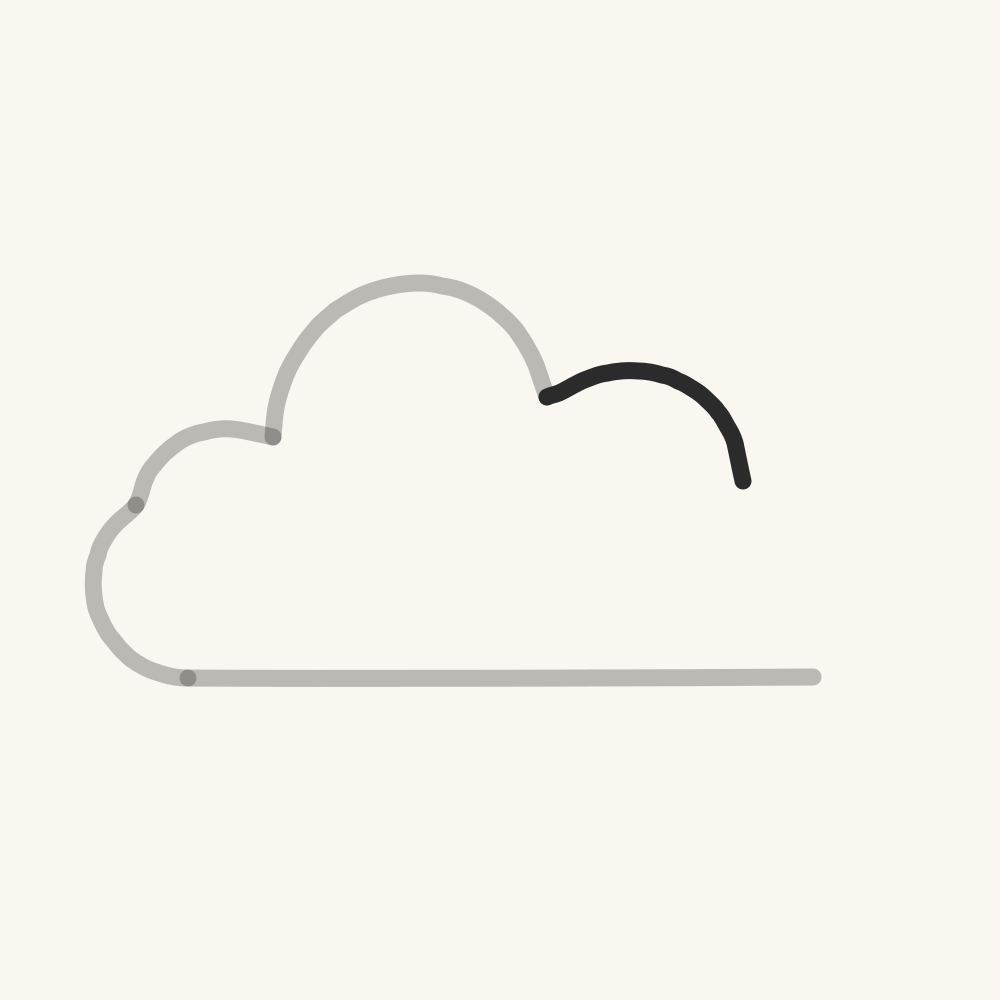
Then a medium bump, a little lower.
6Draw the last bump
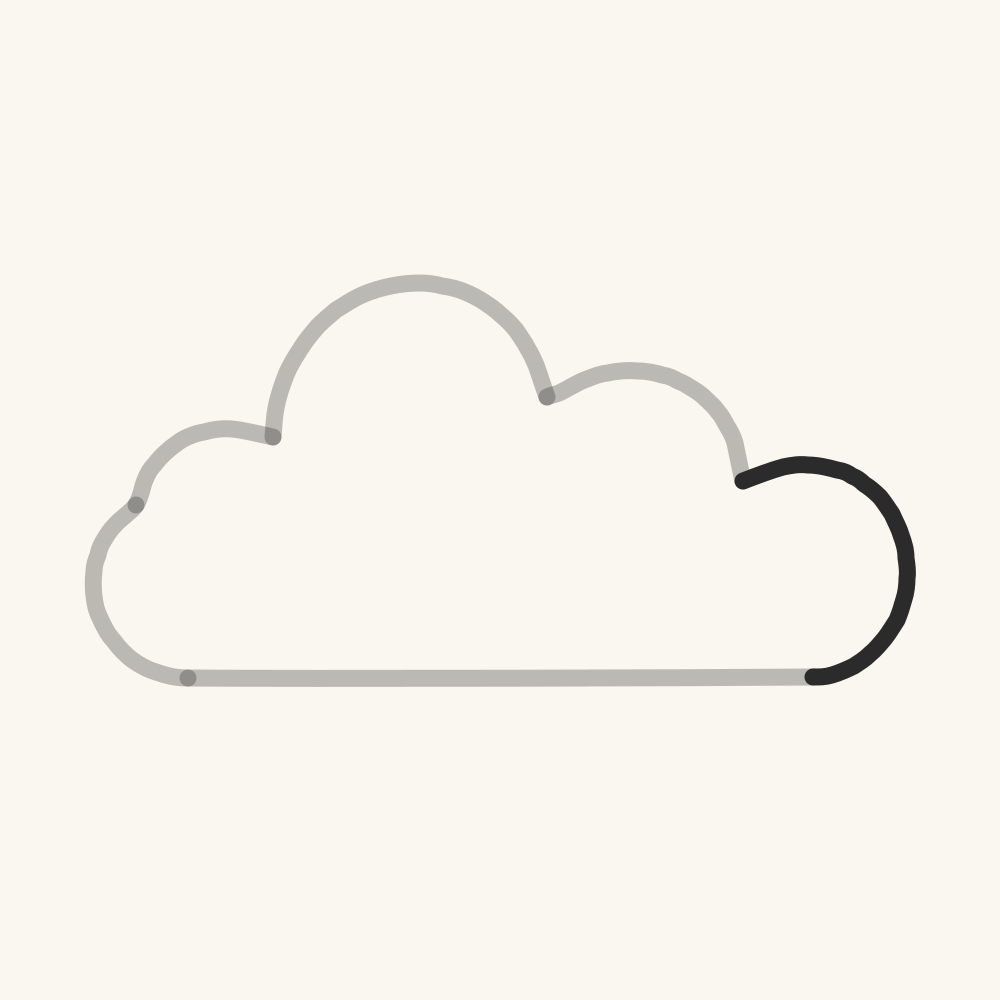
The last bump curls around and lands on the right end of the line.
7Color the cloud

Color the cloud gray.
Tips
Draw a cloud well
Tips for drawing a cloud
- Make the bottom line a little longer than you think you need. The bumps take up more room than you expect, and a long base keeps the cloud from looking cramped.
- Before you draw, look at the four bumps as small, big, medium, then the curl. Saying the sizes out loud helps children remember the order.
- Let each bump end in a small dip that points down toward the base. The dips are what make the bumps look puffy and separate.
- Make the big bump about twice as tall as the first small one. That gives the cloud its tall, rounded middle.
- When you color, move the crayon in small circles. Stay just inside the outline so the cloud keeps its shape.
Common mistakes
- All four bumps come out the same size, so the cloud looks like a row of beads. Change the heights on purpose. Go small, then the tallest, then medium, and finish with the curl on the right.
- The last bump runs out of space and never meets the bottom line, which leaves a gap. Curl the last bump down early and land it right on the end of the line, so the shape closes.
- The bottom line is drawn wavy or tilted, and the cloud looks like it is sliding. Keep the base straight and level. Slide a ruler or the edge of a book under your pencil if it helps.
Make it your own
- Draw three clouds side by side in a small, medium and large size to fill a sky.
- Leave the cloud white and color the paper around it blue, so it stands out against the sky.
- Make a stormy cloud by pressing harder with the gray so it turns darker.
- Stretch the bottom line much longer and add a few extra bumps for a wide, lazy cloud.
Done
Your finished cloud
Color it in as you like: the colors here are only a start.
Print it
All the steps on one page
Save it, pin it or print it, and draw from the paper.
 How to Draw a Sun
 How to Draw a Rocket
 How to Draw a Sailboat
 How to Draw a Car
Questions
Good to know
Why does a cloud drawing have a flat bottom?
Many real puffy clouds look flat underneath and bumpy on top. The straight line also gives you a steady place to start, and it makes the shape easy to recognize as a cloud.
How many bumps should a cloud have?
This cloud has four, counting the curl at the end. You can use three to six. Just keep their sizes different, with one bump clearly taller than the others.
Where should the biggest bump go?
Put it near the middle, second from the left. A tall middle bump makes the cloud look balanced, like a soft hill rising up between smaller ones.
How can I help a young child draw the bumps?
Have them trace each bump in the air with a finger first, like drawing rainbows. Then draw one bump at a time and pause at each dip.
How long does it take to draw a cloud?
About 2 minutes for the lines, and a few more to color it in.
Can kids follow this guide?
Yes, children from about six can follow it on their own, and younger ones with a grown-up beside them.
What do I need?
Paper and a pencil or a pen, and crayons, markers or colored pencils for the colors. An eraser helps but isn’t needed.
Updated 2026-10-25

Draw it with Lina
Paper Coach shows each line of a cloud being drawn, then waits while you draw it. This lesson is one of the free ones. 10 lessons on the Sky & Weather path, and more on every path.
Get Paper Coach on the App StoreFree to download · iPhone and iPad
 On a computer? Scan this with your iPhone or iPad camera to open Paper Coach in the App Store.