Fantasy Objects · Premium in the app
How to Draw a Potion Bottle
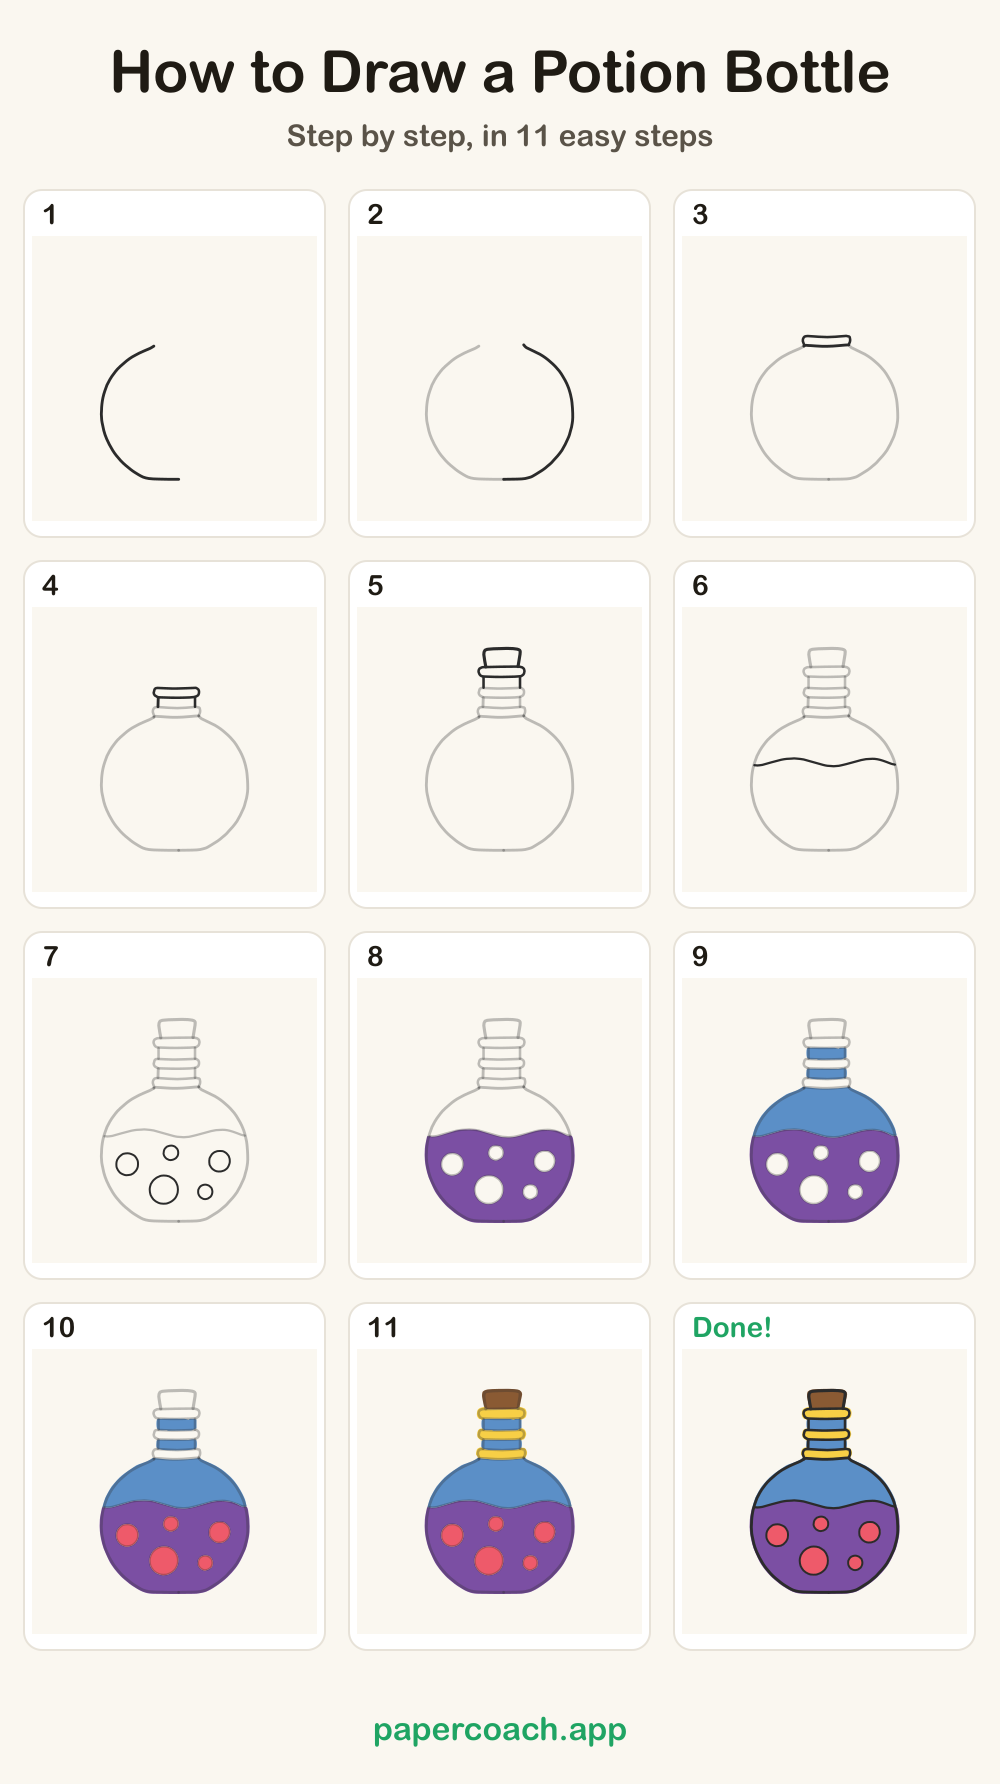
An easy step-by-step drawing for kids and beginners: 11 steps, about 3 minutes, on paper.
- 11steps
- 3 minabout
- Colorat the end
Quick answer
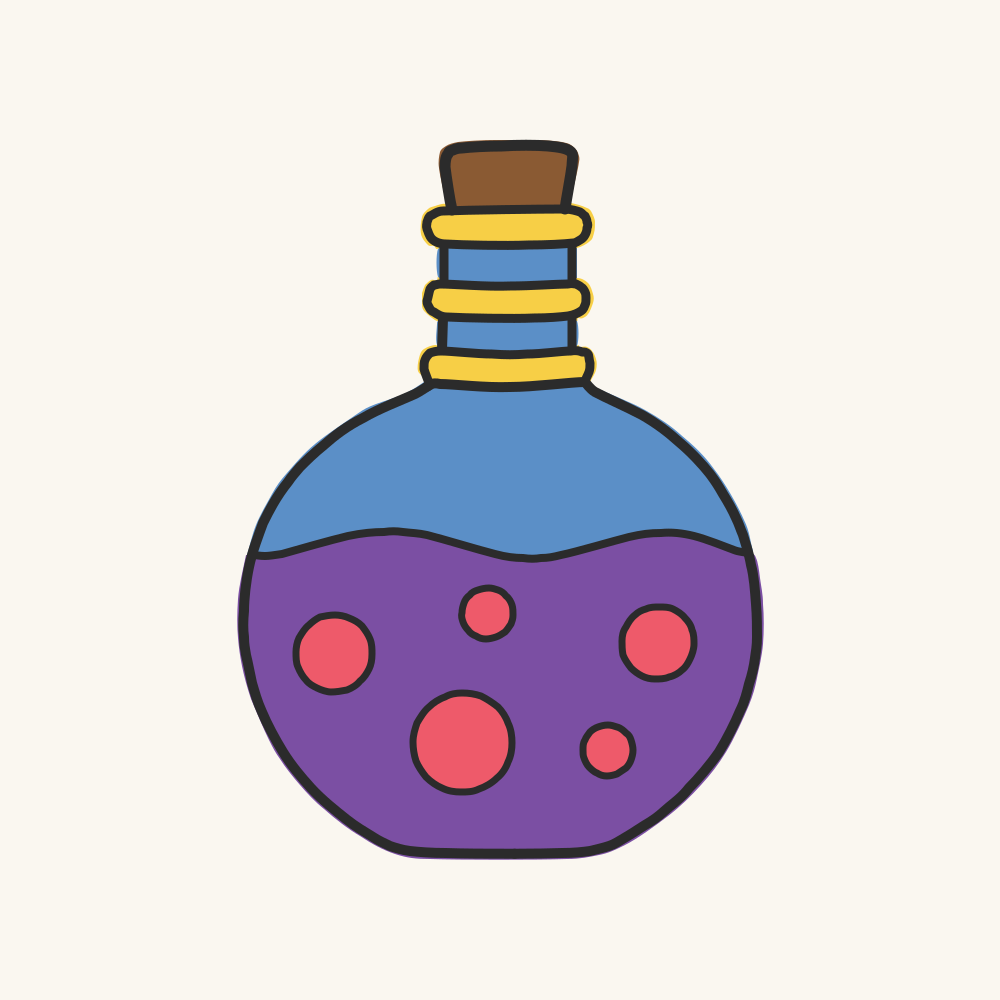
Draw a potion bottle in 11 steps: draw the flask, finish the flask, draw the first ring, then carry on one line at a time and color it in. It takes about 3 minutes with a pencil or a pen.
- Steps: 11
- Time: about 3 minutes
- You need: paper, a pencil or a pen, something to color with
- From: the Fantasy Objects path in Paper Coach
This potion bottle is a big round belly with a tall neck made of three gold rings stacked between short pieces of glass. A wavy line fills the flask with purple potion, and five pink bubbles float inside. If you can draw a circle with a flat bottom and a few rounded bands, you can draw this bottle.
Step by step
Draw it in 11 steps
Each picture shows the lines so far: the faded ones are done, the dark ones are this step’s.
1Draw the flask
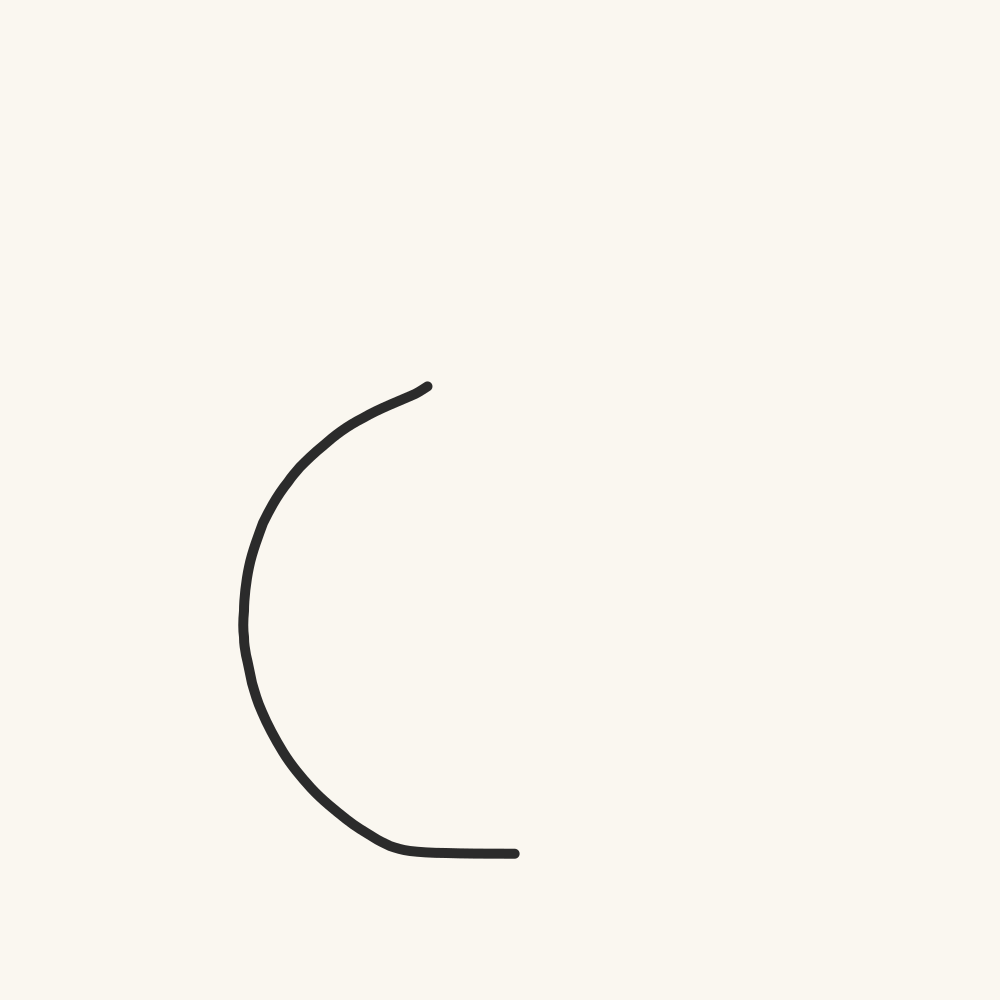
The flask is a big round belly. From the neck, curve down the left side to the flat bottom.
2Finish the flask
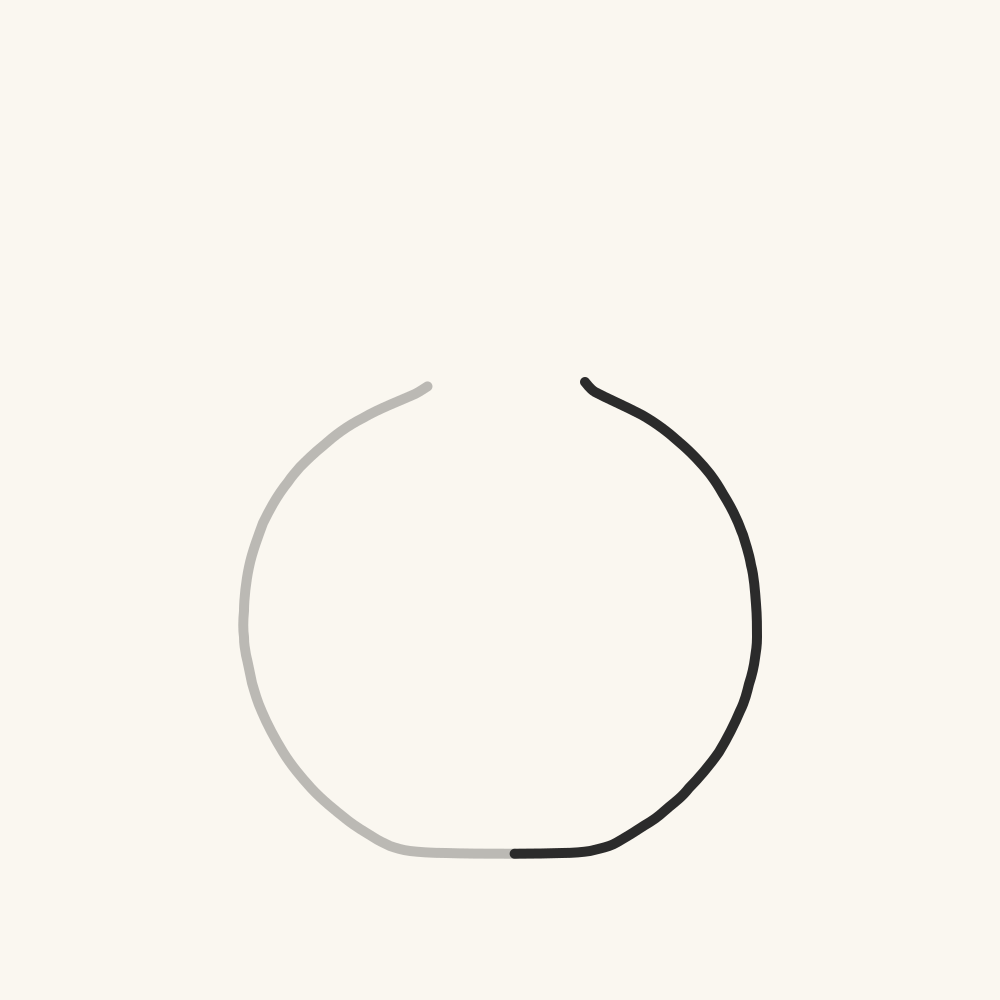
Now the right side, rounding down from the neck until it meets the bottom.
3Draw the first ring
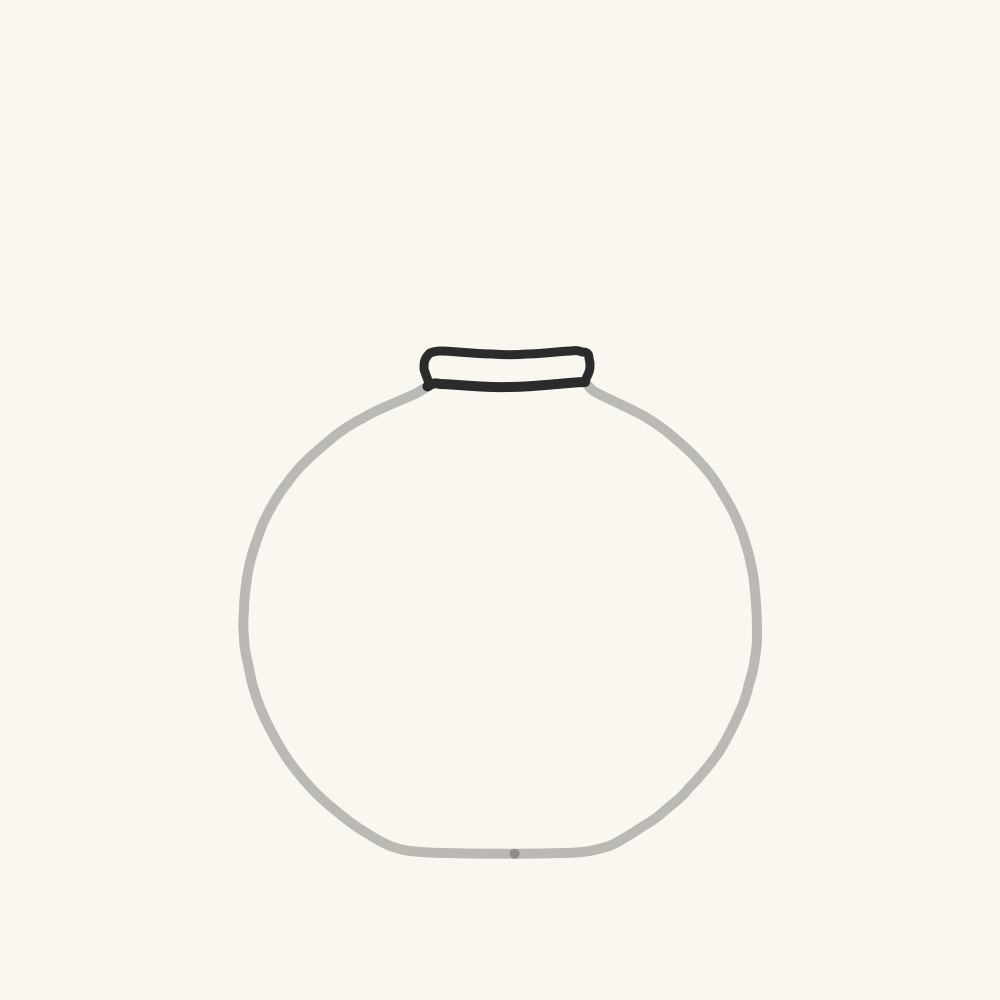
The neck starts with a gold ring. Close the top with a short line, then lay a band with round ends on it.
4Draw the neck
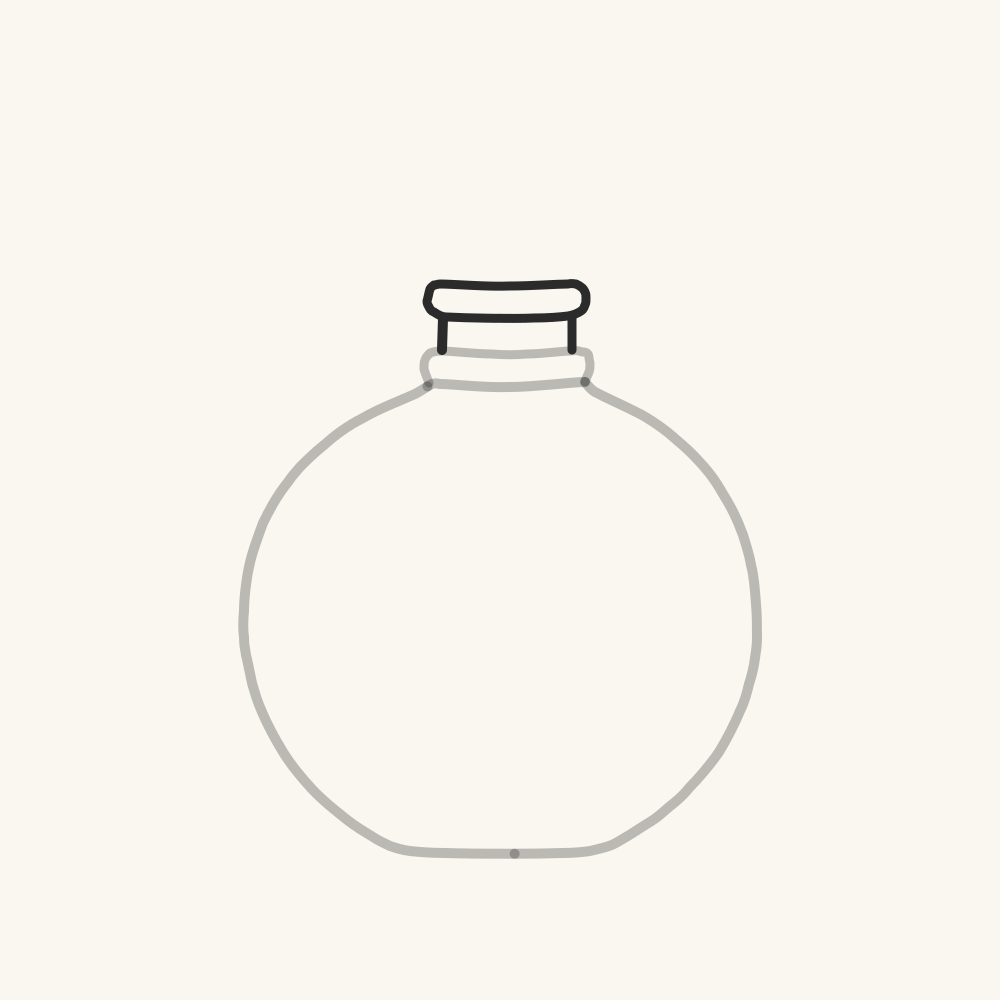
A short piece of neck stands on the ring, then a second ring just like the first.
5Draw the top
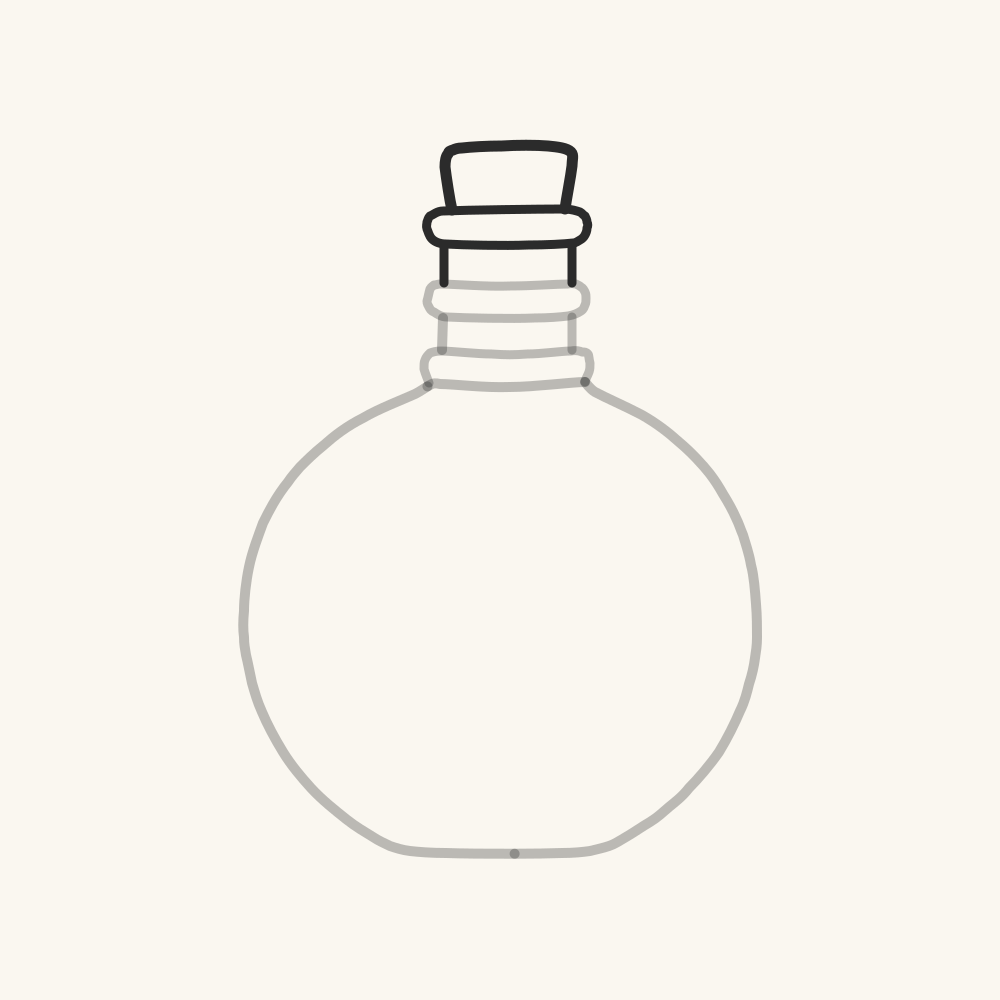
One more piece of neck, the third ring, and the cork pushed in on top.
6Draw the potion
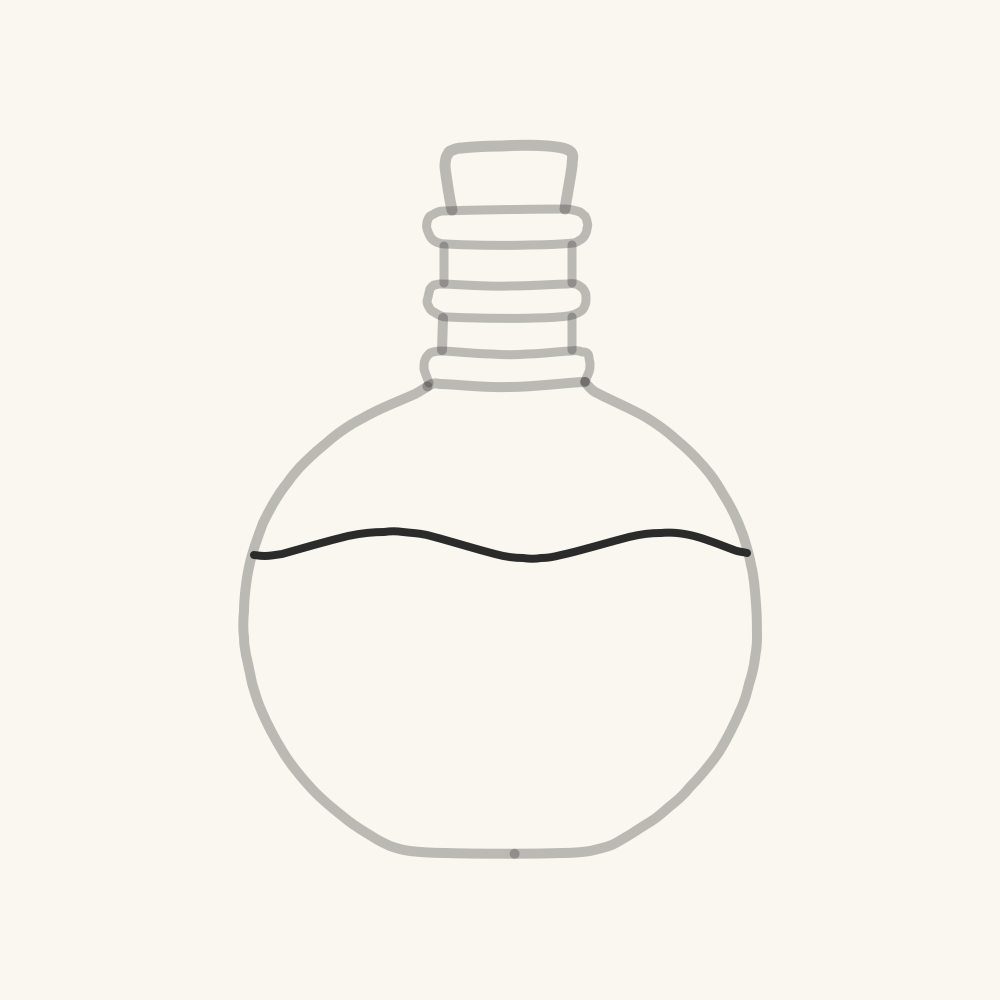
Now the potion. A wavy line crosses the flask, a little above the middle.
7Draw the bubbles
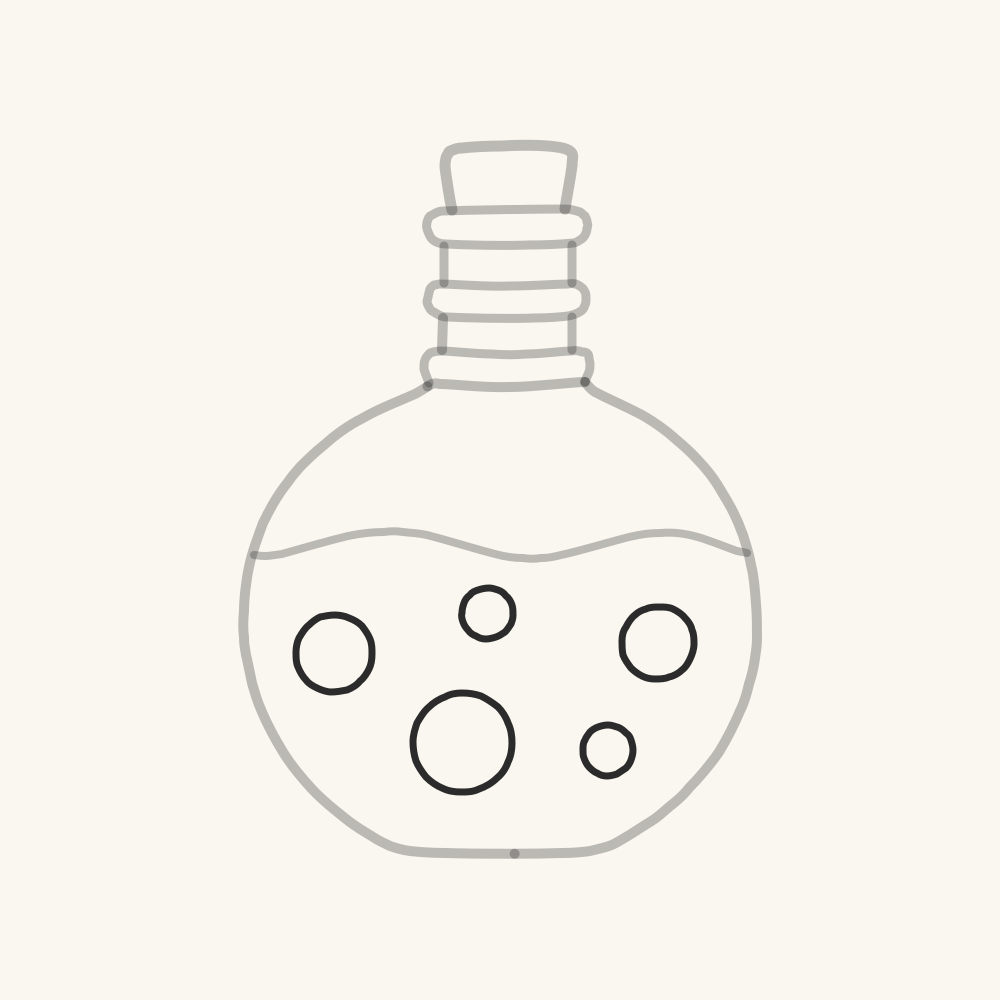
Five bubbles float in the potion. The big one sits low, the four smaller ones around it.
8Color the potion
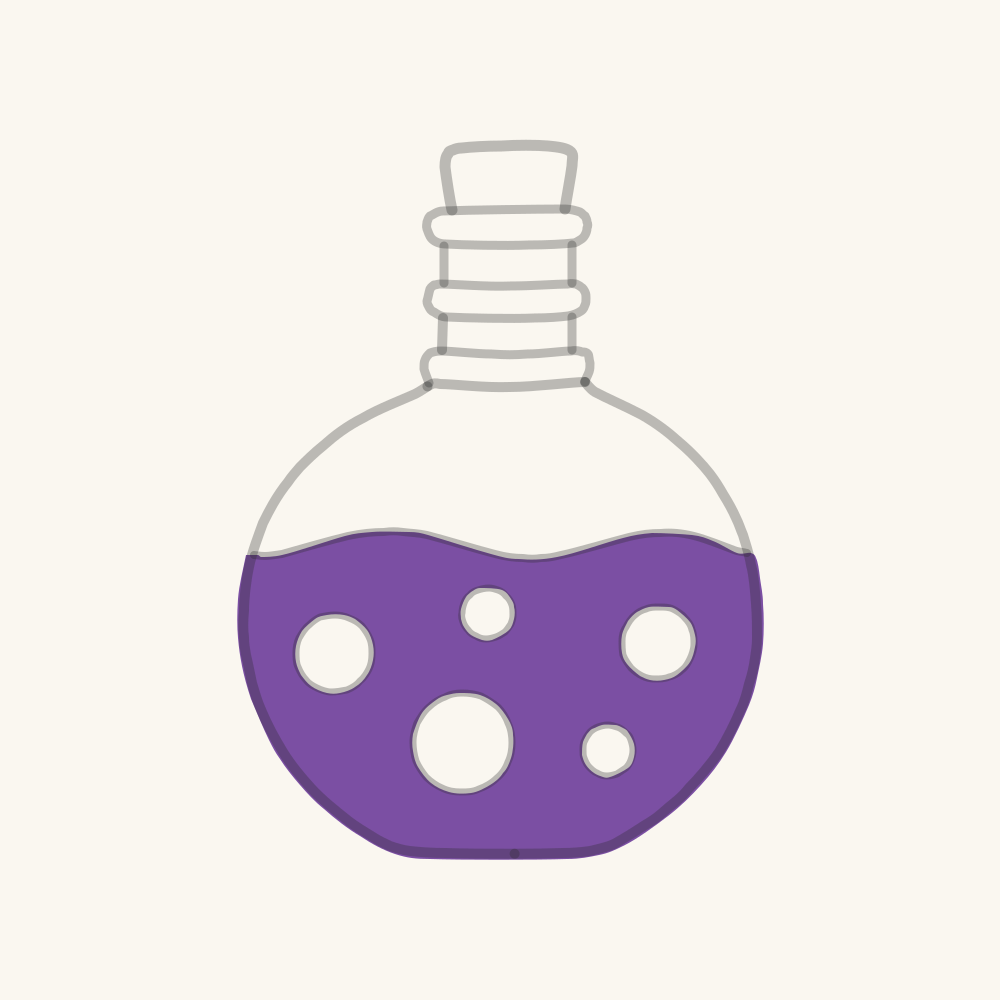
Color the potion purple.
9Color the glass
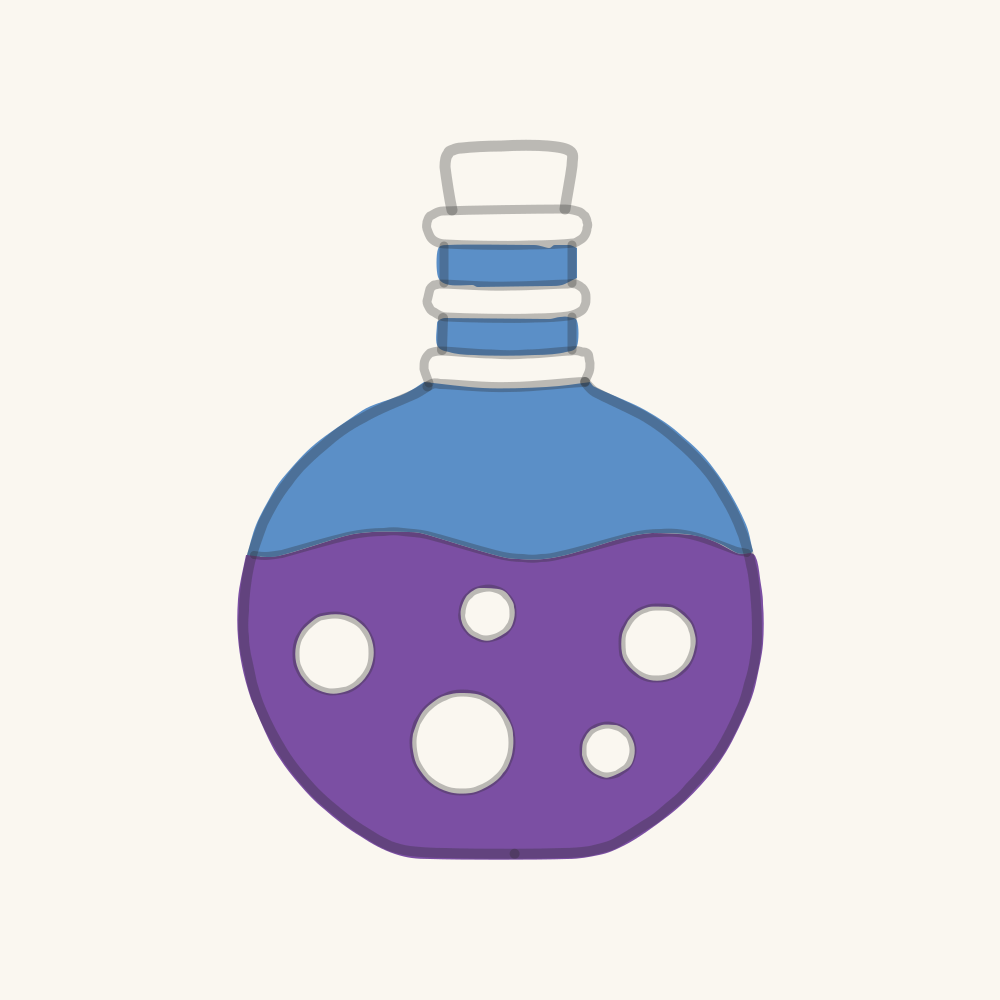
The glass above it and both pieces of neck are blue.
10Color the bubbles
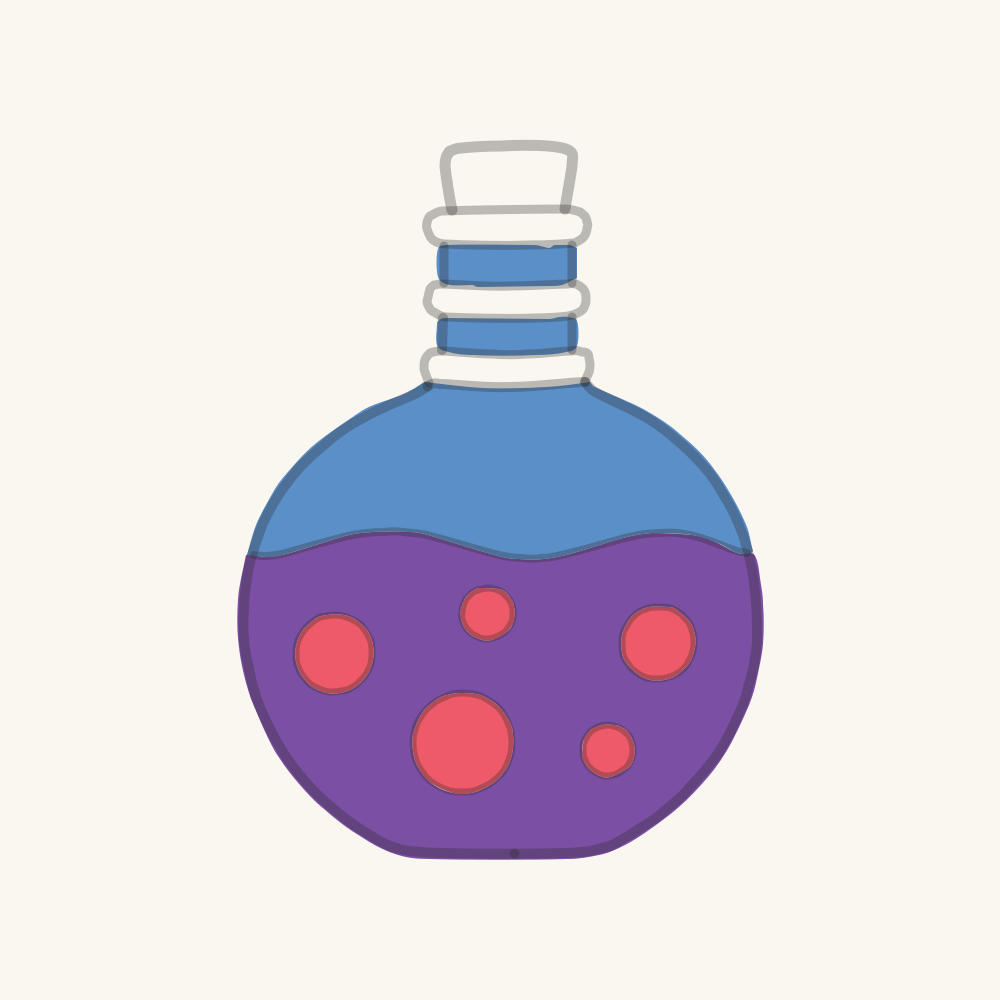
Color the five bubbles pink.
11Color the rings and cork
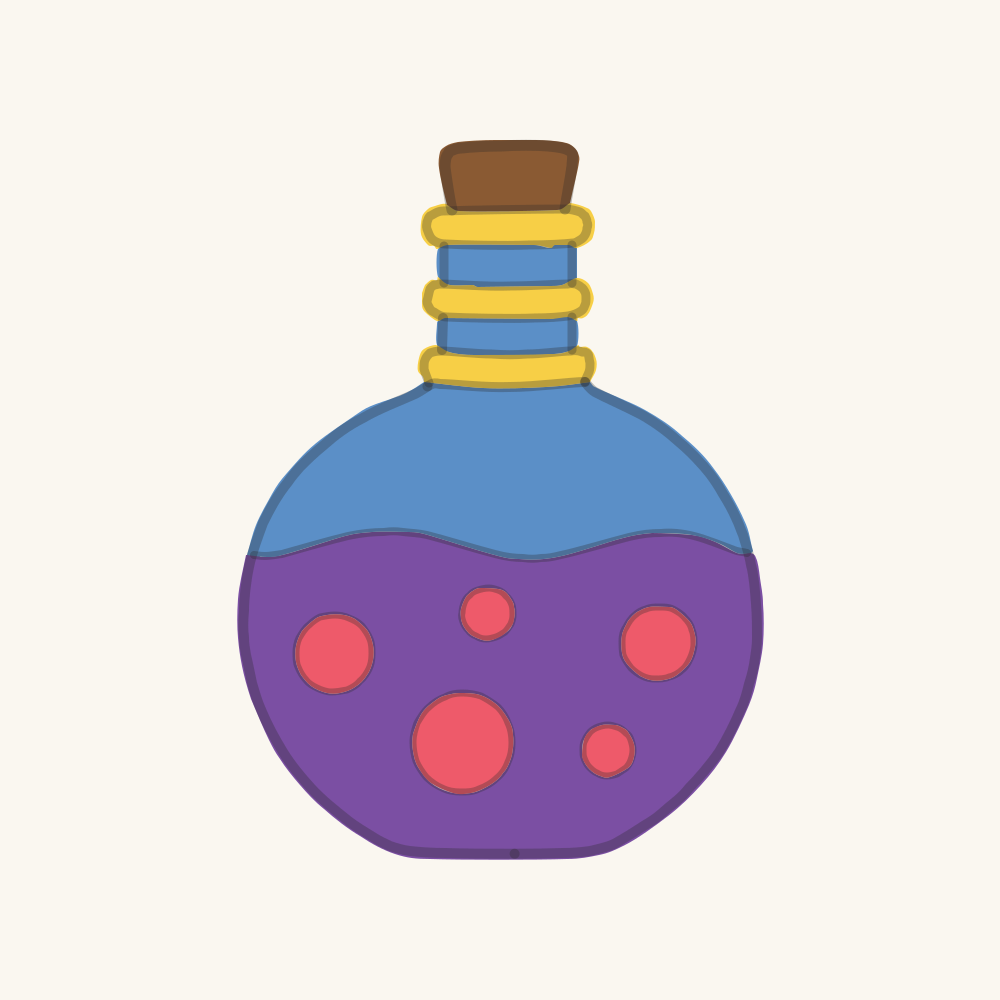
Gold for the three rings and brown for the cork.
Tips
Draw a potion bottle well
Tips for drawing a potion bottle
- Make the belly much wider than the neck. If the neck is about one fifth as wide as the flask, the bottle looks round and heavy.
- Draw both sides of the flask from the same spot under the neck, so the two curves match and the bottle doesn't lean.
- Keep the three gold rings the same width and height. Matching rings make the neck look neat and stacked.
- Put the wavy potion line a little above the middle of the flask. That leaves enough room under it for all five bubbles.
- Let the cork stick out above the top ring, a bit narrower than the ring, so it looks pushed in.
Common mistakes
- The flask comes out lopsided, with one side bulging more than the other. Before you draw the right side, look at the left curve and copy how far out it swings.
- The neck pieces are so tall that the bottle looks like a vase. Keep each neck piece short, about the height of one ring. The flask should stay the biggest part.
- All five bubbles are the same size and sit in a straight row. Make one bubble clearly bigger and low in the potion, then scatter the four small ones around it at different heights.
Make it your own
- Fill the flask with a different potion color, like green or orange, and keep the blue glass above it.
- Change how full the bottle is by moving the wavy line higher or lower in the flask.
- Draw a row of three bottles with potions at different levels, like a shelf in a wizard's shop.
- Try silver rings instead of gold, and a darker brown cork.
Done
Your finished potion bottle
Color it in as you like: the colors here are only a start.
Print it
All the steps on one page
Save it, pin it or print it, and draw from the paper.
 How to Draw a Cauldron
 How to Draw a Crystal Ball
 How to Draw a Rocket
 How to Draw a Sun
Questions
Good to know
How do I make the flask look round and not like an oval?
Swing each side out wide, almost as wide as the flask is tall, then curve back in to a short flat bottom. The flat bottom helps it sit on the table.
Why does the potion line need to be wavy?
A wavy top makes the liquid look like it's moving inside the glass. A straight line can look like a stripe painted on the bottle instead.
How do I draw the rings on the neck?
Draw a flat band with rounded ends, a little wider than the neck. Then repeat it twice, each one the same size, with a short piece of neck between them.
How can a child draw this bottle more easily?
Start with the big round belly, then stack three rings like coins on top. Skip the small bubbles at first and add just the big one if five feel like too many.
How long does it take to draw a potion bottle?
About 3 minutes for the lines, and a few more to color it in.
Can kids follow this guide?
Yes, children from about six can follow it on their own, and younger ones with a grown-up beside them.
What do I need?
Paper and a pencil or a pen, and crayons, markers or colored pencils for the colors. An eraser helps but isn’t needed.
Updated 2026-10-26

Draw it with Lina
Paper Coach shows each line of a potion bottle being drawn, then waits while you draw it. This lesson is part of Premium; the first 3 lessons of every path are free. 10 lessons on the Fantasy Objects path, and more on every path.
Get Paper Coach on the App StoreFree to download · iPhone and iPad
 On a computer? Scan this with your iPhone or iPad camera to open Paper Coach in the App Store.